https://www.howtoforge.com/tutorial/how-to-do-batch-image-processing-on-linux-with-xnconvert
GIMP is great and I use it all the time, but when it comes to batch image processing on Linux, nothing is more handy and simple to use than XnConvert. Although not an open source software, this batch raster graphics editor comes for free without any limitations for private use, and works in all platforms and architectures. You can get it from the official website as a complementary part of XnView (it's standalone). Here comes a tutorial on how to use this simple yet powerful tool on Linux.
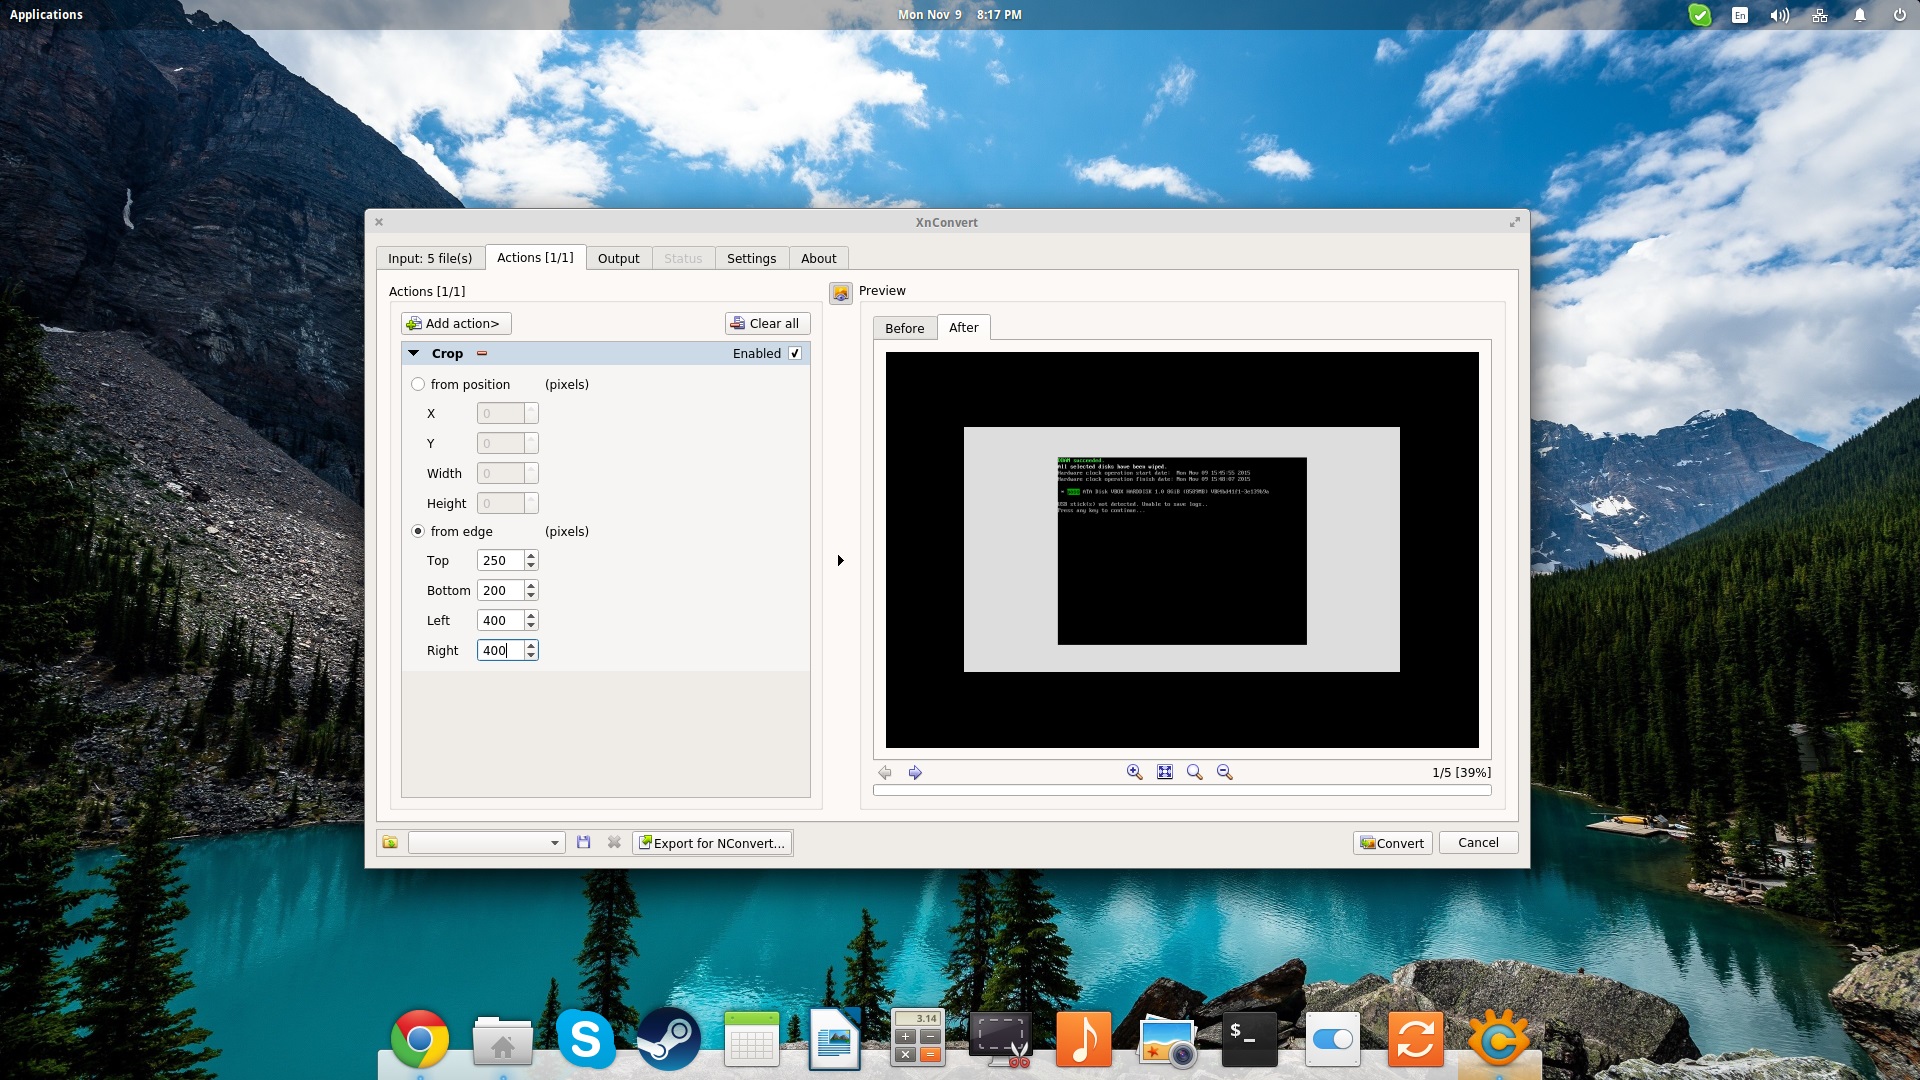
 Once you do that, a new set of options in regards to the added action
will be given on the left side, while on the right you can see a
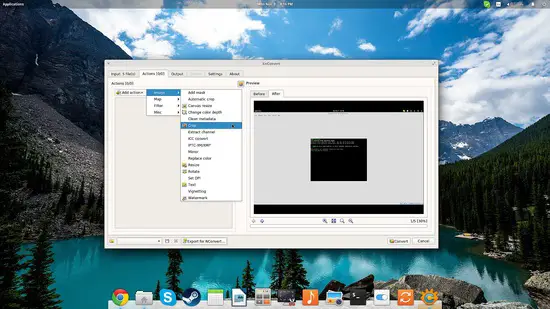
preview of any of the added images for your convenience. Here, I use a
set of screenshots taken on Virtual Machine, so I first need to crop
them.
Once you do that, a new set of options in regards to the added action
will be given on the left side, while on the right you can see a
preview of any of the added images for your convenience. Here, I use a
set of screenshots taken on Virtual Machine, so I first need to crop
them.
 Among the many actions available in XnConvert, I have found and added
a watermark. I can change its position, opacity, size etc. All actions
in XnConvert feature a wide adjustment range of options. You may add up
to 80 actions on this step, but note that batch processing may take
quite a while if you act overwhelmingly.
Among the many actions available in XnConvert, I have found and added
a watermark. I can change its position, opacity, size etc. All actions
in XnConvert feature a wide adjustment range of options. You may add up
to 80 actions on this step, but note that batch processing may take
quite a while if you act overwhelmingly.

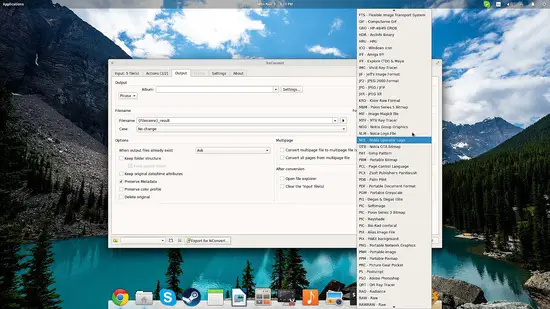
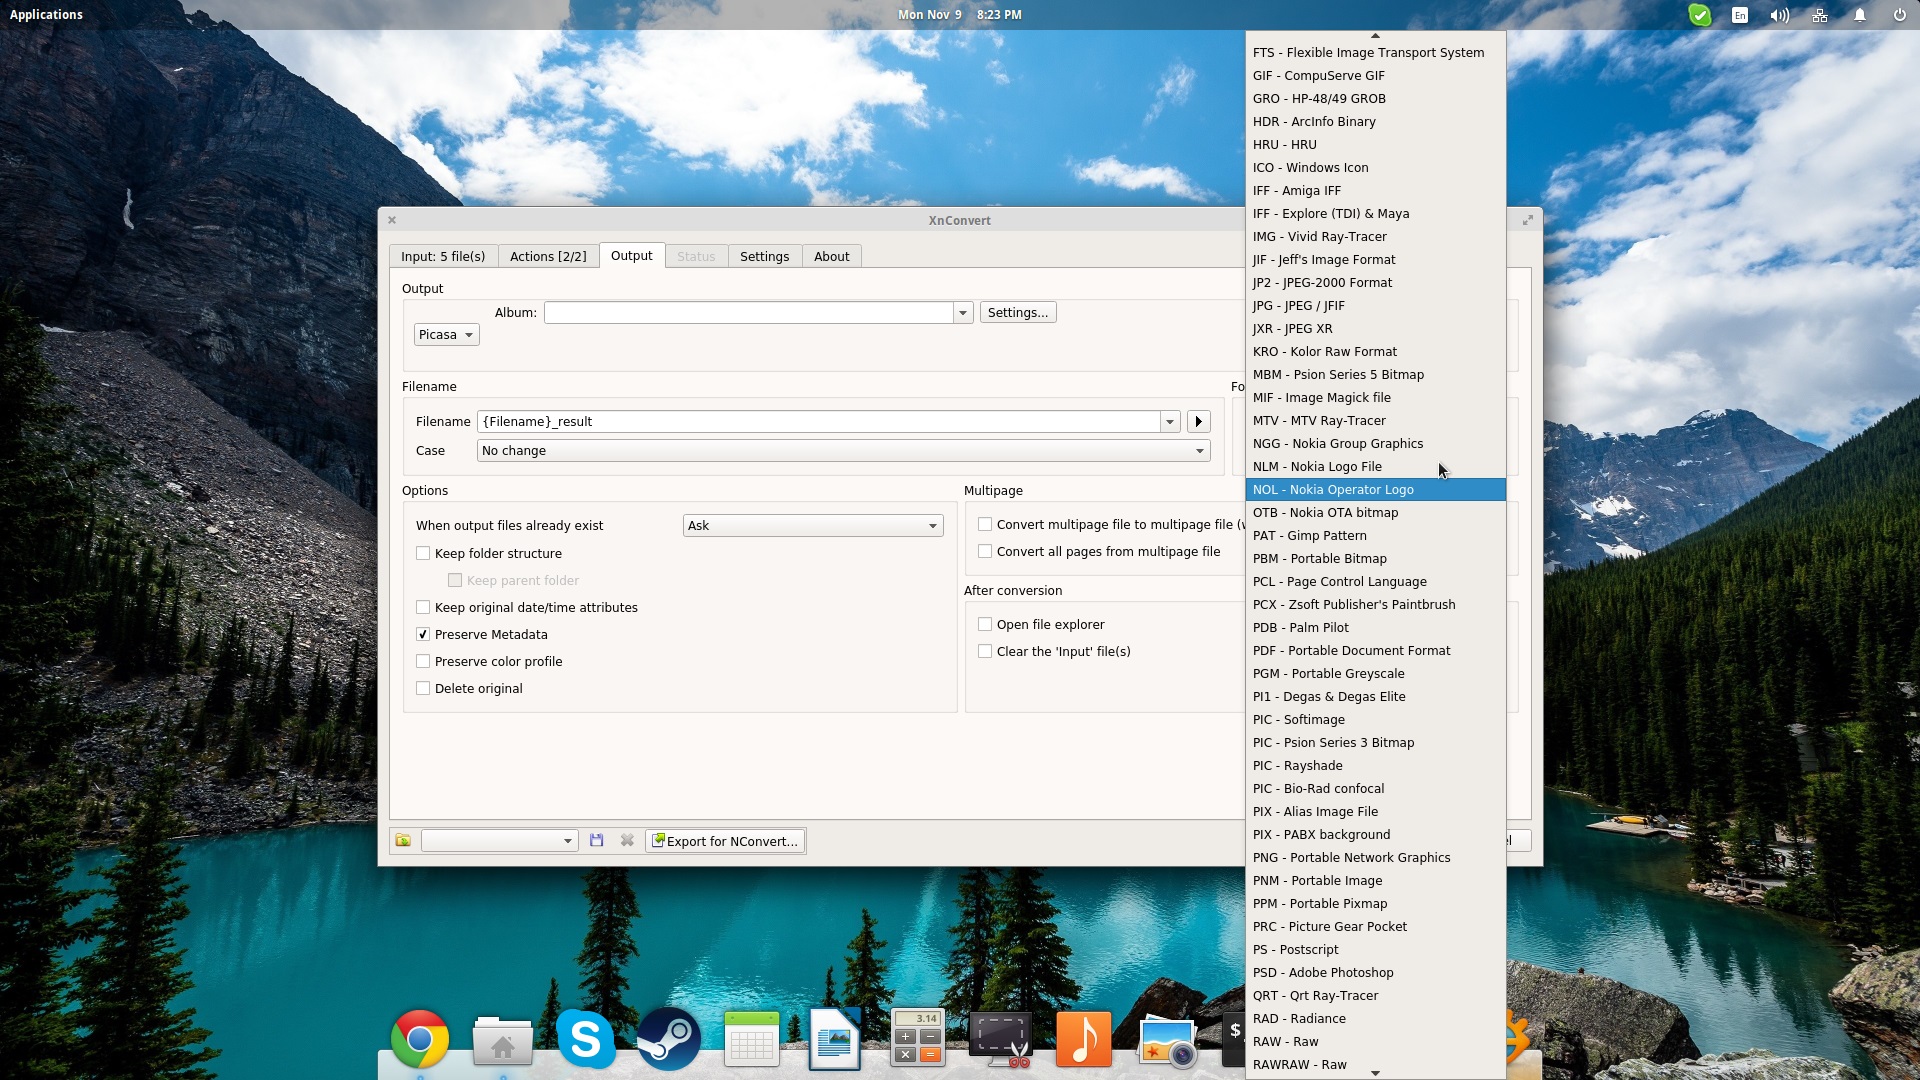
 The choice format is a sector where XnConvert naturally shines. You
may choose among a list of more than five hundred different image
formats for the resulting files. All proprietary software formats from
Adobe, Autodesk, Corel, Canon, Nokia, Kodak, Macintosh, Microsoft,
Olympus, Sony, and many more are supported, so this tool can be a
lifesaver as a format converter anyway.
The choice format is a sector where XnConvert naturally shines. You
may choose among a list of more than five hundred different image
formats for the resulting files. All proprietary software formats from
Adobe, Autodesk, Corel, Canon, Nokia, Kodak, Macintosh, Microsoft,
Olympus, Sony, and many more are supported, so this tool can be a
lifesaver as a format converter anyway.
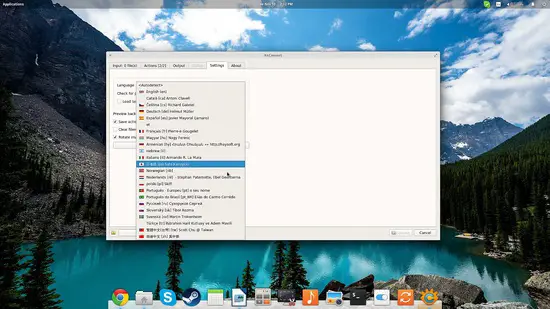
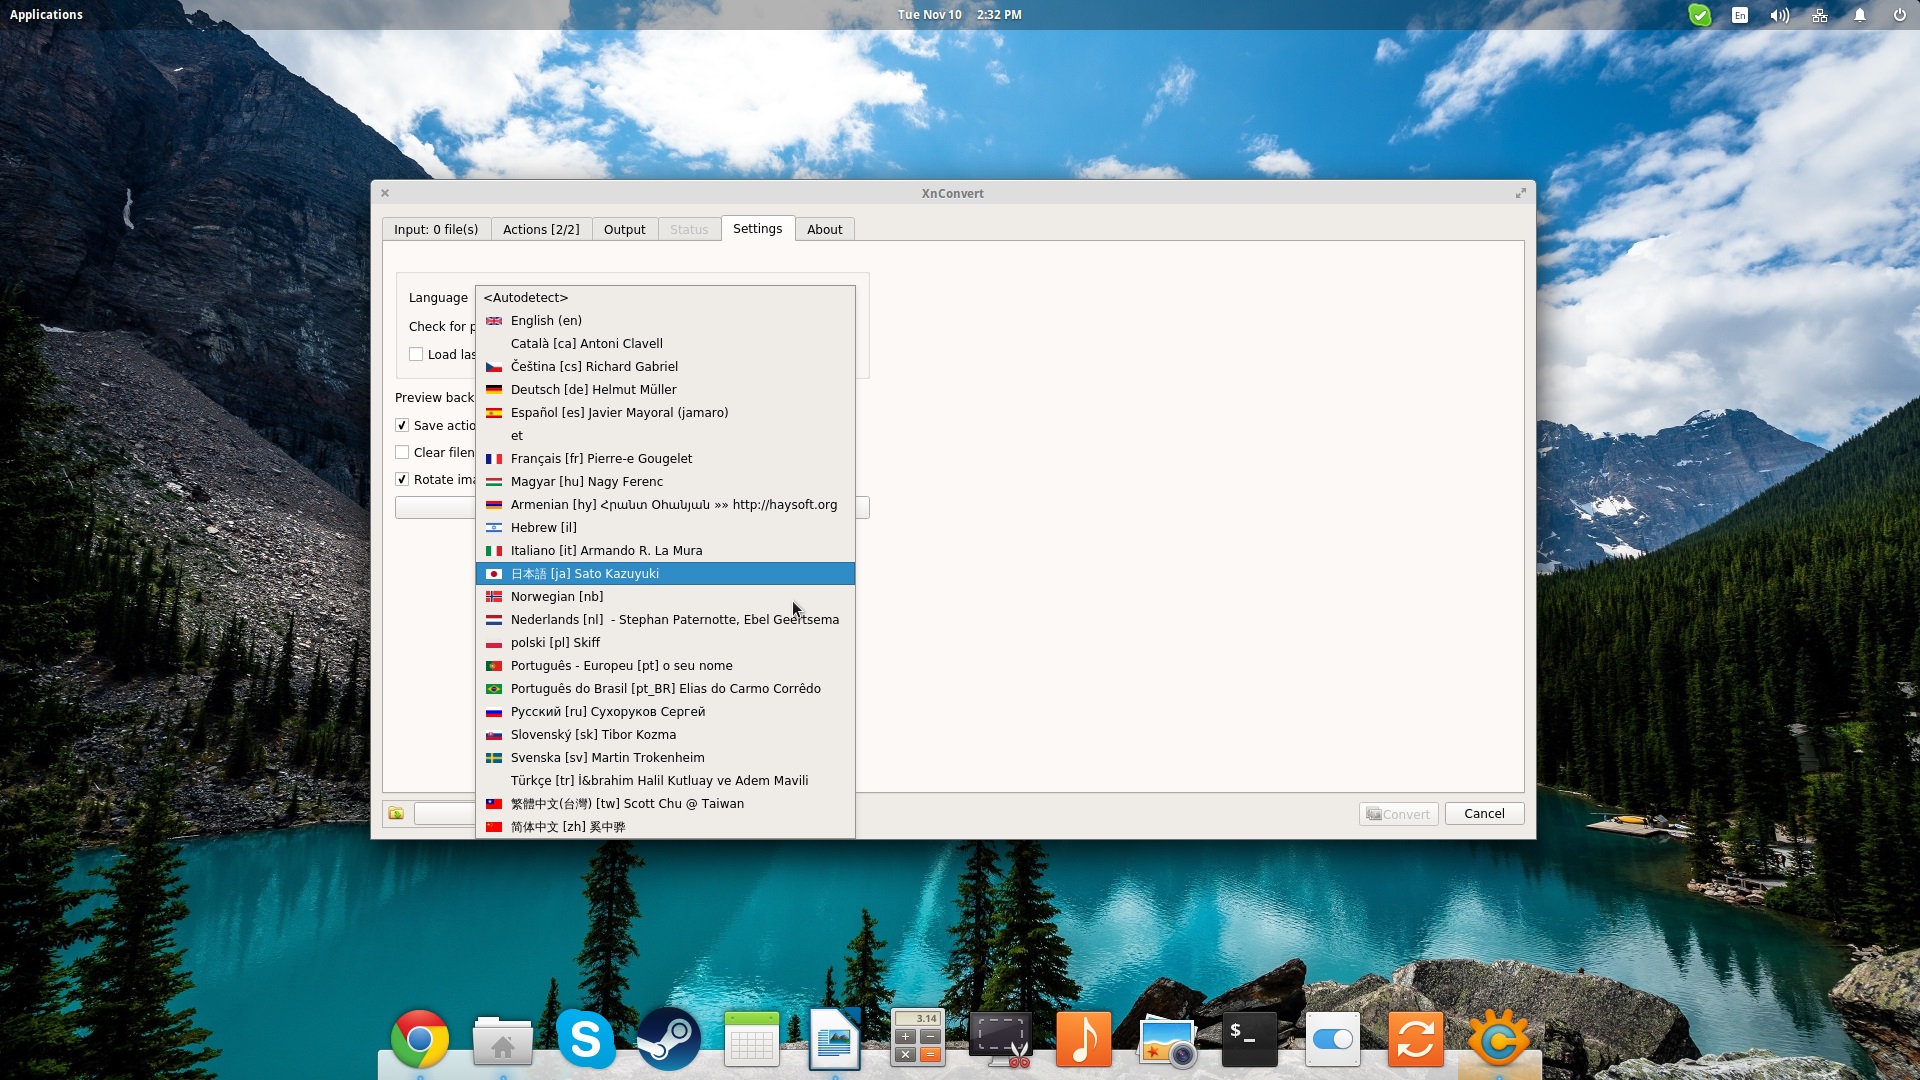
 Last but not least, you may hop on the “Settings” tab and change the
GUI language. You will be happy to see that there is support for over
twenty languages.
Last but not least, you may hop on the “Settings” tab and change the
GUI language. You will be happy to see that there is support for over
twenty languages.
GIMP is great and I use it all the time, but when it comes to batch image processing on Linux, nothing is more handy and simple to use than XnConvert. Although not an open source software, this batch raster graphics editor comes for free without any limitations for private use, and works in all platforms and architectures. You can get it from the official website as a complementary part of XnView (it's standalone). Here comes a tutorial on how to use this simple yet powerful tool on Linux.
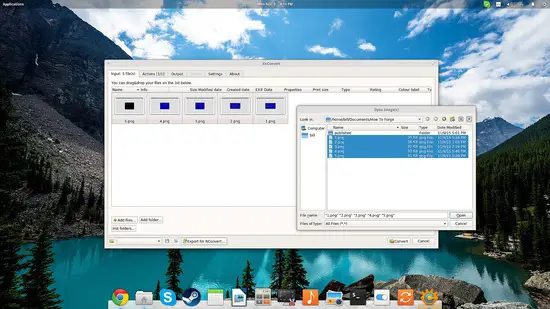
1.) Add your image files
First you need to add the set of your image files. You may either add files individually, or choose a folder that contains the images you want to edit. XnConvert boasts a step-by-step GUI approach, so you just have to click on the first tab named “Input” and start adding the files by pressing the corresponding button located on the bottom left. Then you may simply navigate your folders and choose the files you want to insert into the software.
2.) Set actions
The next step is to define what (editing) actions will be performed to each of the images you have added. Press the “Add action” button and choose one action from the list.

3.) Define the output
Proceeding to the “Output” tab and the final stage of the procedure. Here we can set the output destination, set file naming options, and choose the desired output format. The output options include both local options such as “save to source folder”, or directly create a zip onto a set disk location, and online service options like uploading to Google's Picasa, or on your Flickr account.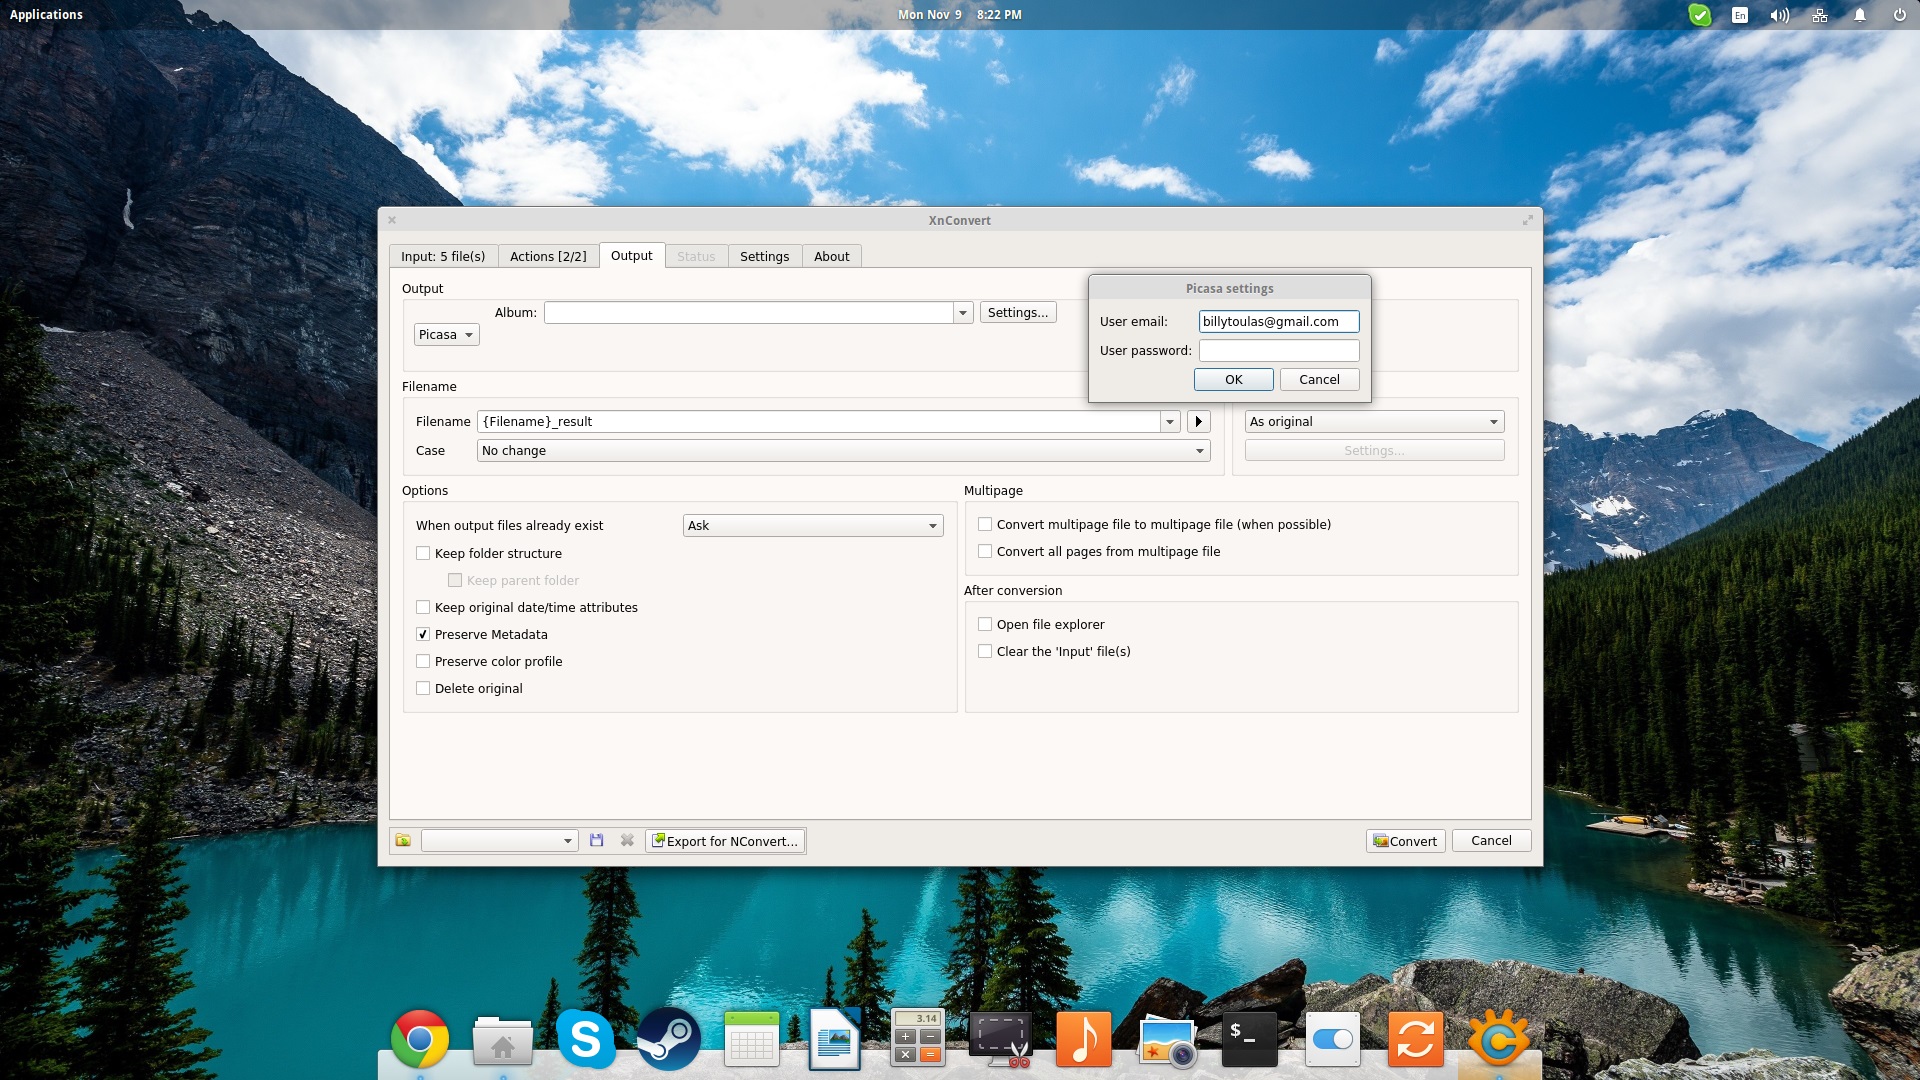

No comments:
Post a Comment