https://www.howtoforge.com/tutorial/how-to-install-openlitespeed-with-php_7-on-centos
OpenLiteSpeed is an open source HTTP server developed by LiteSpeed Technologies. OpenLiteSpeed is a high performance and lightweight HTTP server which comes with a Web Gui administration interface. It can handle more than hundred thousand concurrent connections with low resource usage (CPU and RAM). OpenLiteSpeed supports many OS like Linux, Mac OS, FreeBSD, and SunOS and can be used to run website scripts written in PHP, Ruby Perl, and java.
PHP 7 is the latest PHP version and privides better performance and has a lower memory consumption than PHP 5.6. It's the ultimate choice for a PHP developer today.
In this tutorial, I will guide you trough the installation and configuration of openLiteSpeed and PHP 7 on CentOS 7.
So let's install openLiteSpeed 1.4 with the following yum command:

Next, open your web browser and visit the server IP address with port 7080.
Type in your username and password and press "sign in" to login and you will see the openLiteSpeed dashboard.
Php 7 is installed on the server and we just need to add a new configuration through the management GUI in the browser.
Click on "Server Configuration" and then on the tab "External App". You will see "lsphp5" there with a socket address. Add new "lsphp70" by clicking "Add" button on the right side.
For the type, use "LiteSpeed SAPI App" and click next

Next, add the configuration below:
Then go to the tab "Script Handler" and edit the "lsphp5" 5 script handler. Change the handler name to "lsphp70".
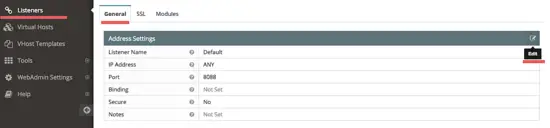
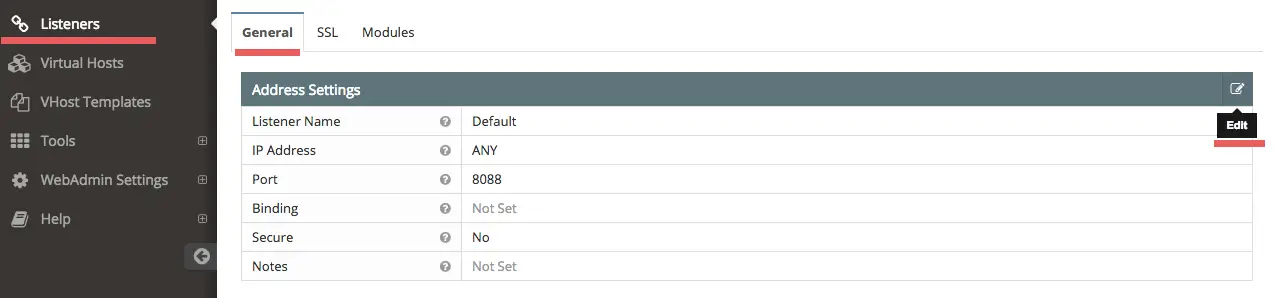
On the left side, go to the "Listeners" section to see the listeners configuration. You will see the default listeners with port 8080. Click "view" zoom icon to see details configuration. Now click "Edit".

If all is done, restart openLiteSpeed by clicking on the restart button and click yes to confirm.
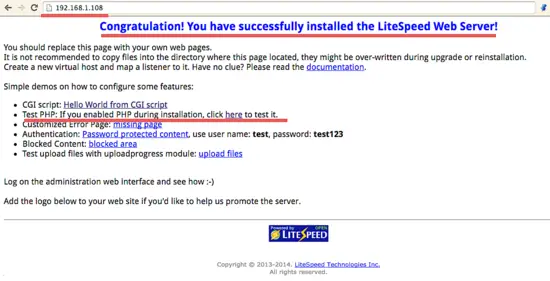
Visit the server IP address with port 80 to ensure our configuration is working properly.
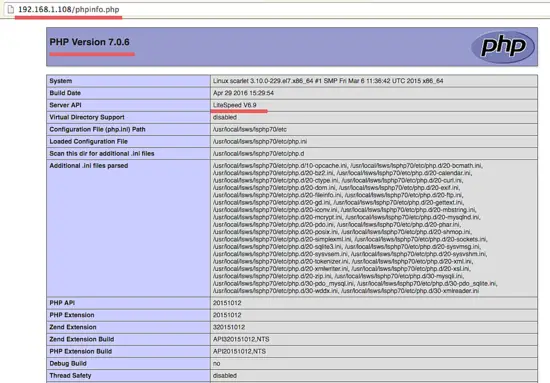
To test the PHP configuration, click on PHP info.
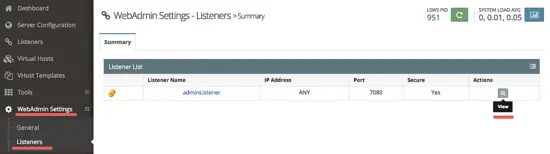
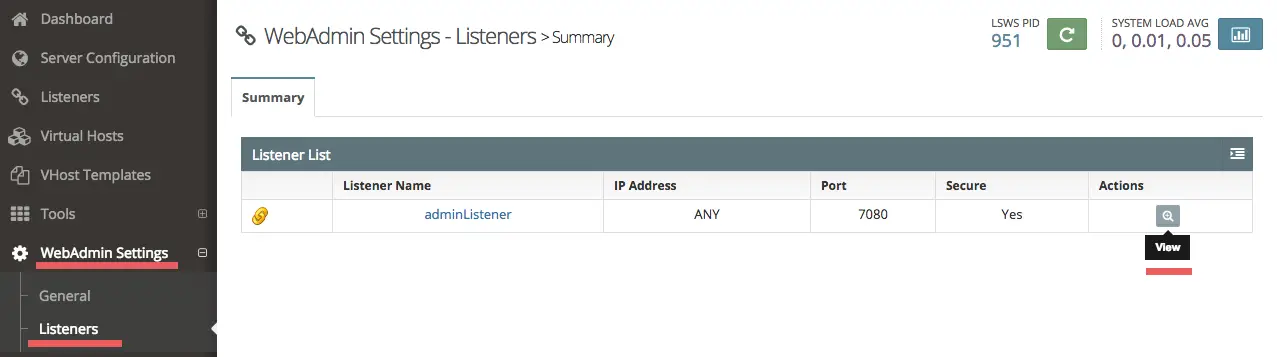
To change default admin port configuration, click on "WebAdmin Settings" and then "Listeners", now click on the action to edit the default port.
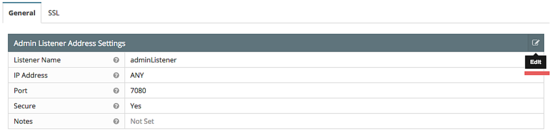
Click on the icon "edit" and enter a port for your admin configuration, then click "Save" icon.
Next, reload openLiteSpeed from your browser and check the web admin.
OpenLiteSpeed is an open source HTTP server developed by LiteSpeed Technologies. OpenLiteSpeed is a high performance and lightweight HTTP server which comes with a Web Gui administration interface. It can handle more than hundred thousand concurrent connections with low resource usage (CPU and RAM). OpenLiteSpeed supports many OS like Linux, Mac OS, FreeBSD, and SunOS and can be used to run website scripts written in PHP, Ruby Perl, and java.
PHP 7 is the latest PHP version and privides better performance and has a lower memory consumption than PHP 5.6. It's the ultimate choice for a PHP developer today.
In this tutorial, I will guide you trough the installation and configuration of openLiteSpeed and PHP 7 on CentOS 7.
Prerequisites
- CentOS 7 - 64bit.
- Root privileges.
Step 1 - Add the OpenLitespeed Repository
To install openLiteSpeed on a CentOS server, we have to add the lite speed repository. Add it with this rpm command:
rpm -ivh http://rpms.litespeedtech.com/centos/litespeed-repo-1.1-1.el7.noarch.rpm
Step 2 - Install OpenLiteSpeed
In this step, we will install openLiteSpeed 1.4. This is the stable version with many features like Pagespeed, file upload, PHP 7 support, RCS integration and HTTP/2 support.So let's install openLiteSpeed 1.4 with the following yum command:
yum -y install openlitespeed14.x86_64
Wait until the installation is finished.Step 3 - Install Epel Repository and PHP 7
The Epel repository is needed for the PHP 7 installation. It's available on CentOS repository. Install the Epel repository with the yum command:
yum -y install epel-release
Next, install php 7 for openLiteSpeed. There is a different version
of PHP used by openLiteSpeed, PHP versions for openLiteSpeed start with
"ls". Install PHP 7 with many of the extensions to get a rich feature
set by typing:
yum -y install lsphp70 lsphp70-mysqlnd
lsphp70-process lsphp70-mbstring lsphp70-mcrypt lsphp70-gd
lsphp70-opcache lsphp70-bcmath lsphp70-pdo lsphp70-common lsphp70-xml
If you want to see a list of all the PHP extensions, you can use the yum search command:
yum search lsphp70
Step 4 - Configure OpenLiteSpeed and PHP 7
In this step, we will configure openLiteSpeed and PHP 7. OpenLiteSpeed has an Admin Gui for management, so we will configure the admin password for the openLiteSpeed GUI, and then configure PHP 7 to work with openLiteSpeed and open standard HTTP port 80.Configure and Test GUI Admin
To configure the admin user and password for the management GUI, run the command below:
/usr/local/lsws/admin/misc/admpass.sh
Type in the user and password for your GUI management.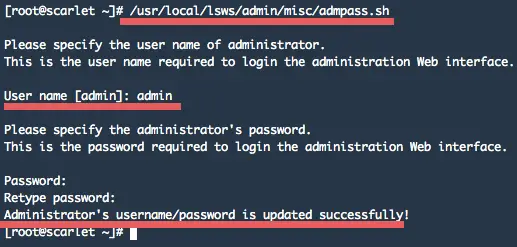
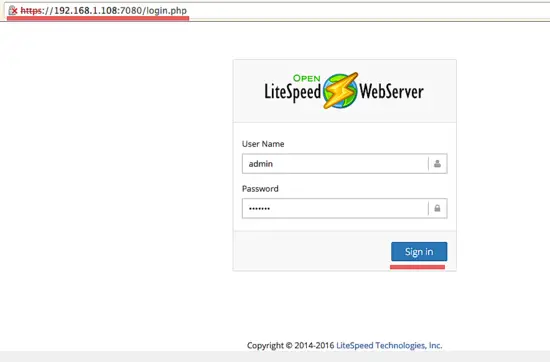
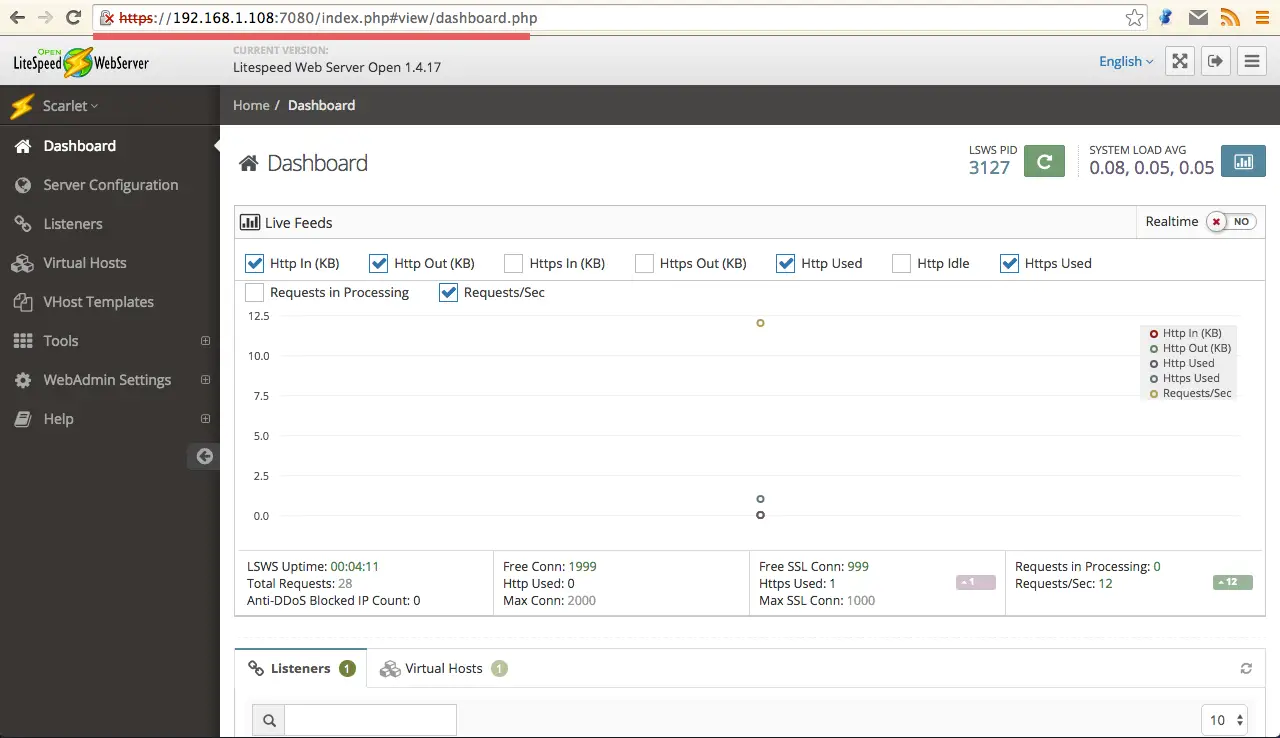
Next, open your web browser and visit the server IP address with port 7080.
https://192.168.1.108:7080/

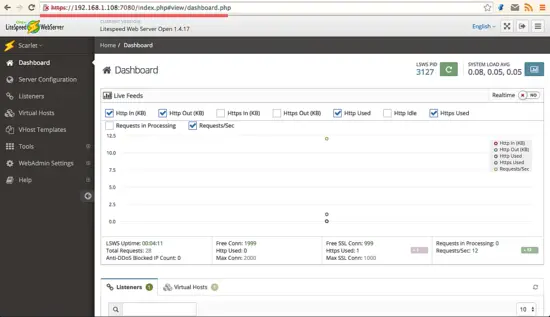
Type in your username and password and press "sign in" to login and you will see the openLiteSpeed dashboard.
Configure PHP 7
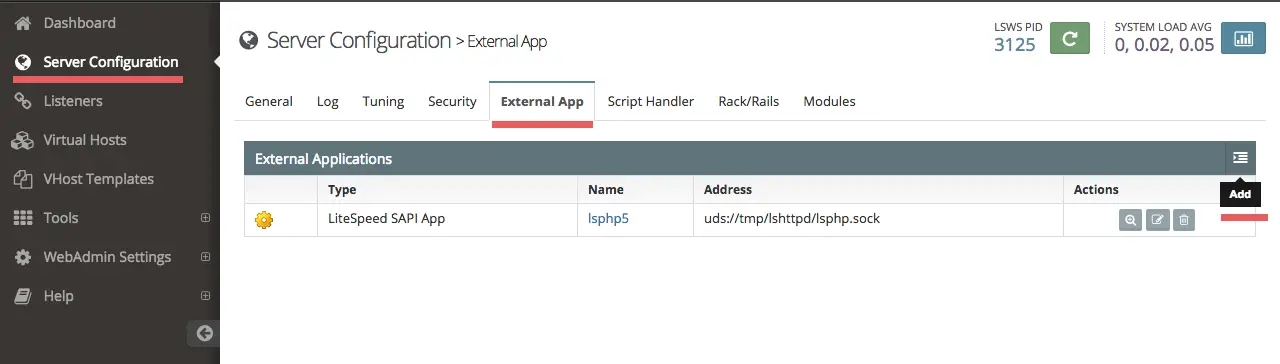
By default, openLiteSpeed 1.4 uses PHP 5, in this step, we will change it to PHP 7.Php 7 is installed on the server and we just need to add a new configuration through the management GUI in the browser.
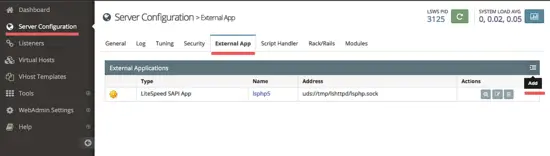
Click on "Server Configuration" and then on the tab "External App". You will see "lsphp5" there with a socket address. Add new "lsphp70" by clicking "Add" button on the right side.
For the type, use "LiteSpeed SAPI App" and click next

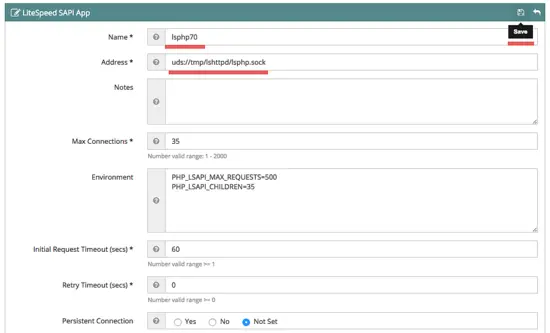
Next, add the configuration below:
Name: lsphp70
Address:    uds://tmp/lshttpd/lsphp.sock
Max Connections: 35
Environment: PHP_LSAPI_MAX_REQUESTS=500
             PHP_LSAPI_CHILDREN=35
Initial Request Timeout (secs): 60
Retry Timeout : 0
Response Buffering: no
Auto Start: yes
Command: $SERVER_ROOT/lsphp70/bin/lsphp
Back Log: 100
Instances: 1
Memory Soft Limit (bytes): 2047M
Memory Hard Limit (bytes):2047M
Process Soft Limit: 400
Process Hard Limit: 500
Click on the save icon to save the configuration.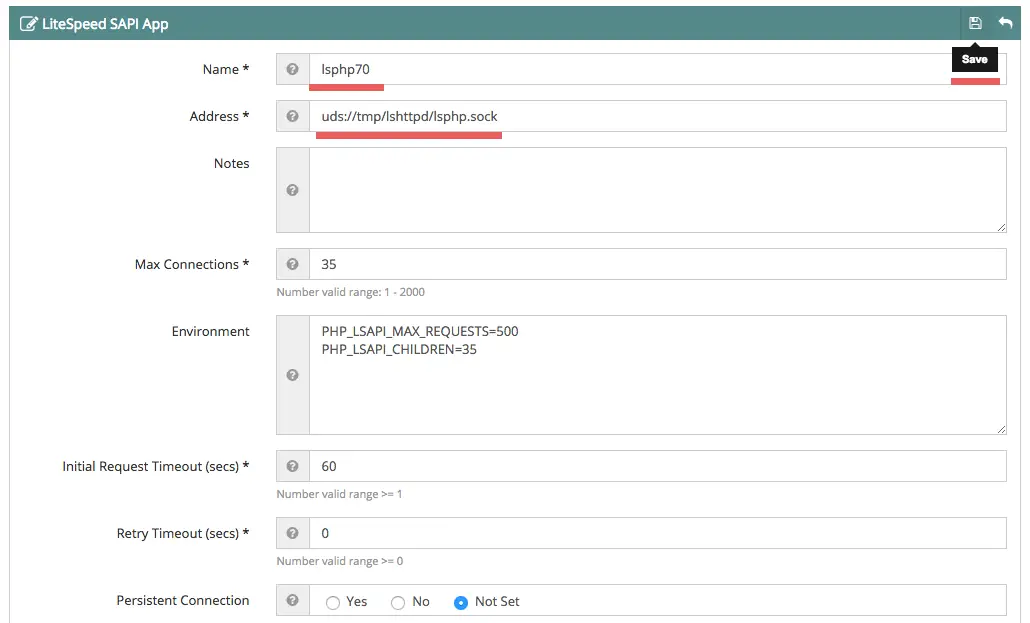
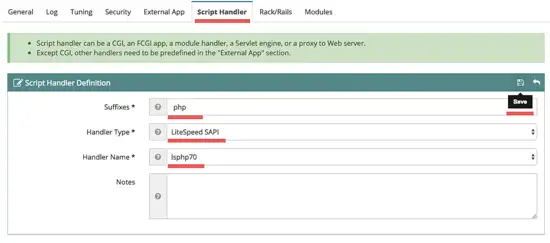
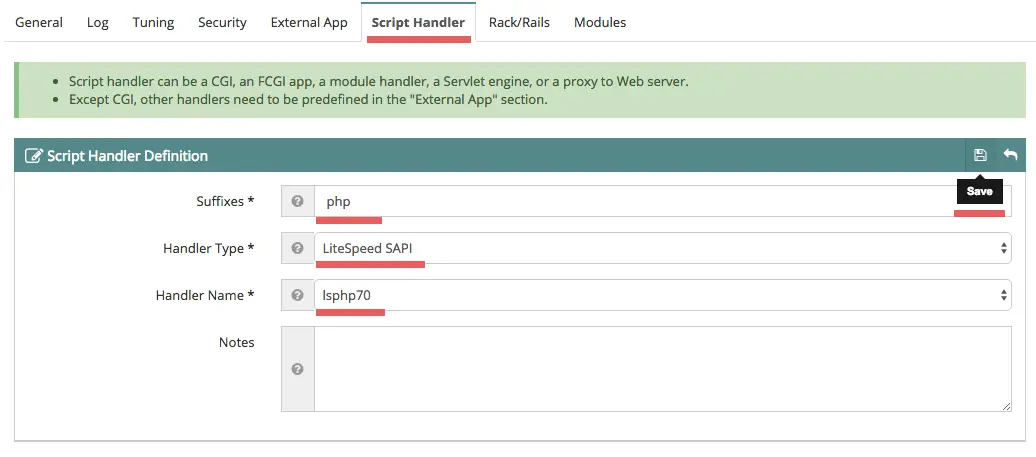
Then go to the tab "Script Handler" and edit the "lsphp5" 5 script handler. Change the handler name to "lsphp70".
Suffixes: php
Handler Type: LiteSpeed SAPI
Handler Name: lsphp70
Click on the save icon.
Configure Port 80
The default http port for openLiteSpeed is 8080, it's used to receive the client requests. In this step, we will change the port to 80 from the openLiteSpeed management GUI.
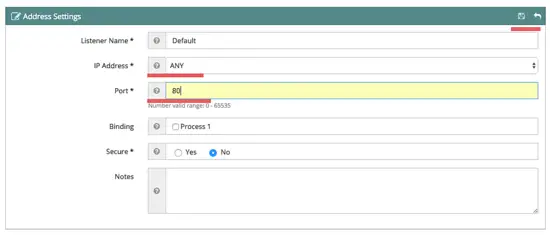
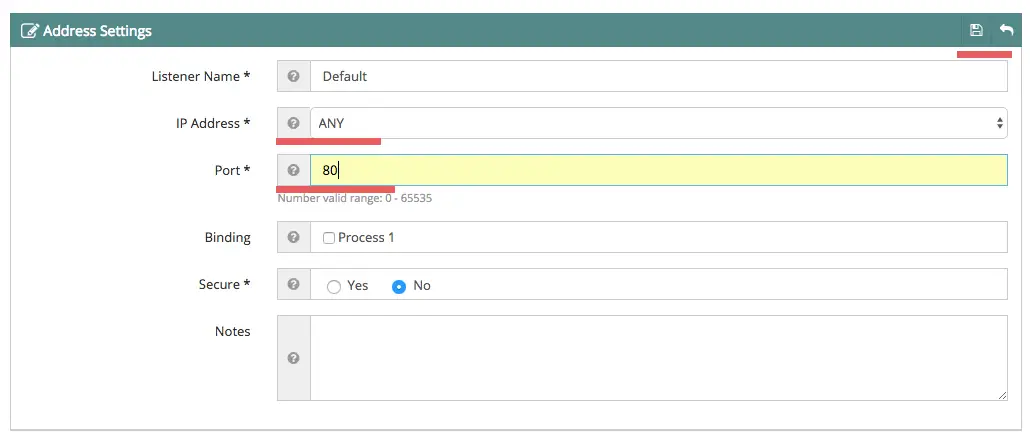
IP Address: ANY
Port 80
Change the port to 80 and save the configuration.
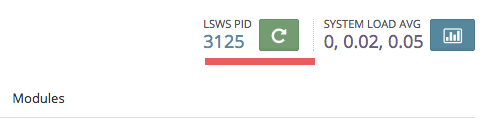
If all is done, restart openLiteSpeed by clicking on the restart button and click yes to confirm.

Step 5 - Testing
Now we can test the server.Visit the server IP address with port 80 to ensure our configuration is working properly.
http://192.168.1.108/
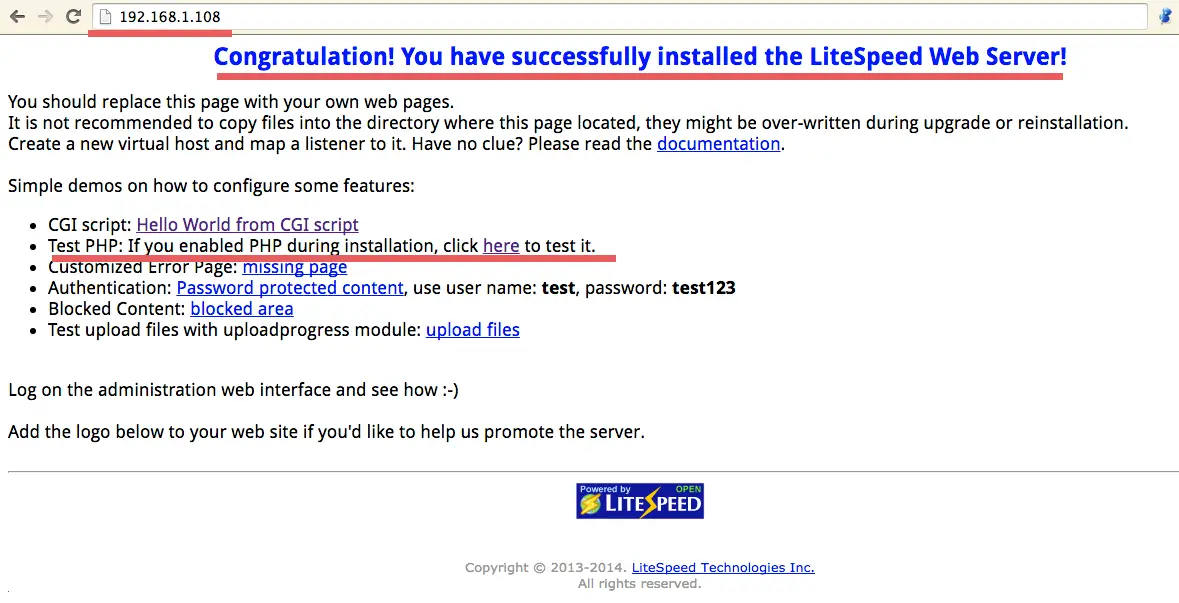
To test the PHP configuration, click on PHP info.
http://192.168.1.108/phpinfo.php
Done and all working properly.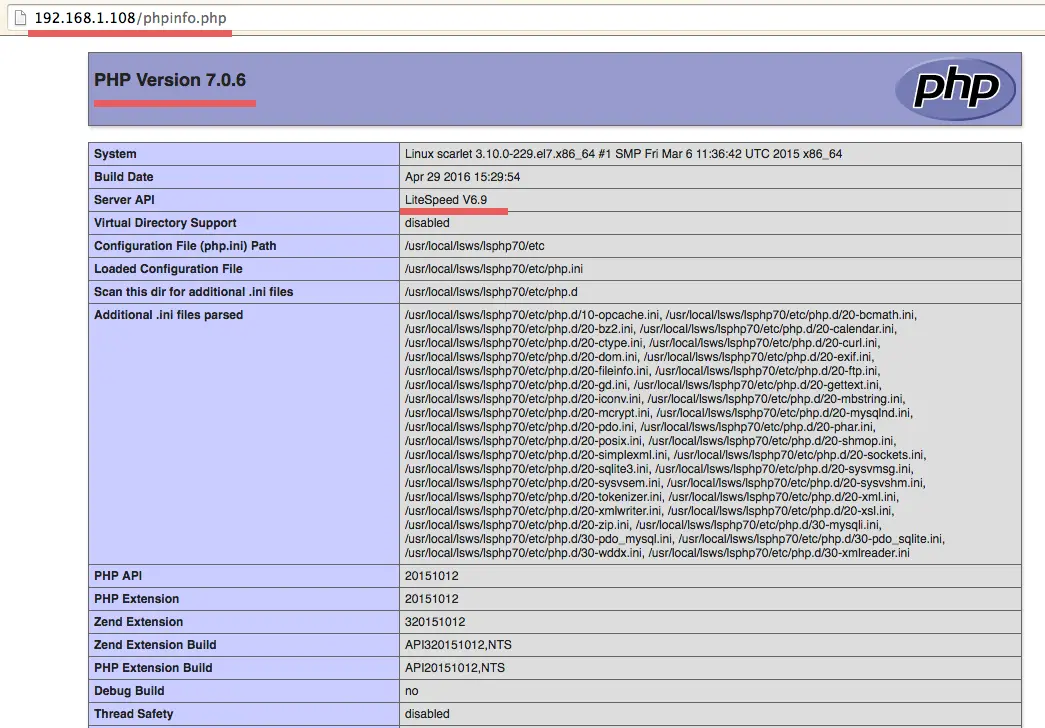
Step 6 - Change the Default Admin Port (Optional)
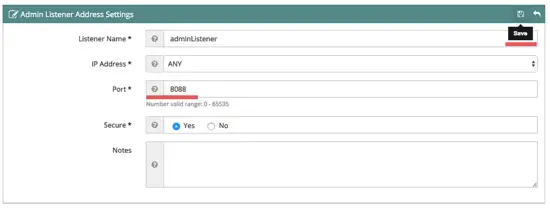
This step is optional but I recomended it to change default port of Admin GUI for openLiteSpeed.To change default admin port configuration, click on "WebAdmin Settings" and then "Listeners", now click on the action to edit the default port.
Click on the icon "edit" and enter a port for your admin configuration, then click "Save" icon.

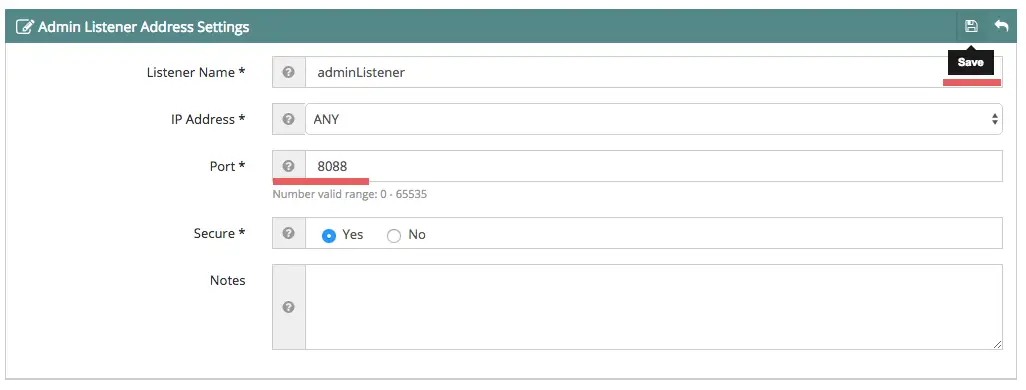
Next, reload openLiteSpeed from your browser and check the web admin.
http://192.168.1.108:8088/

No comments:
Post a Comment